Peter Rukavina’s typically clear and thorough How to mount an Android phone on a Mac using SSHFS showed me how to get just what I wanted: easy access to the files on my new phone from my Ubuntu laptop. Bluetooth never works right for me, and GSconnect looked good but had too much overhead. Now I have something that suits me nicely.
First, I installed Termux from F-Droid. Then I ran it, installed sshd, set a password for the account (there is no username), and ran the daemon:
pkg install sshd
passwd
sshd
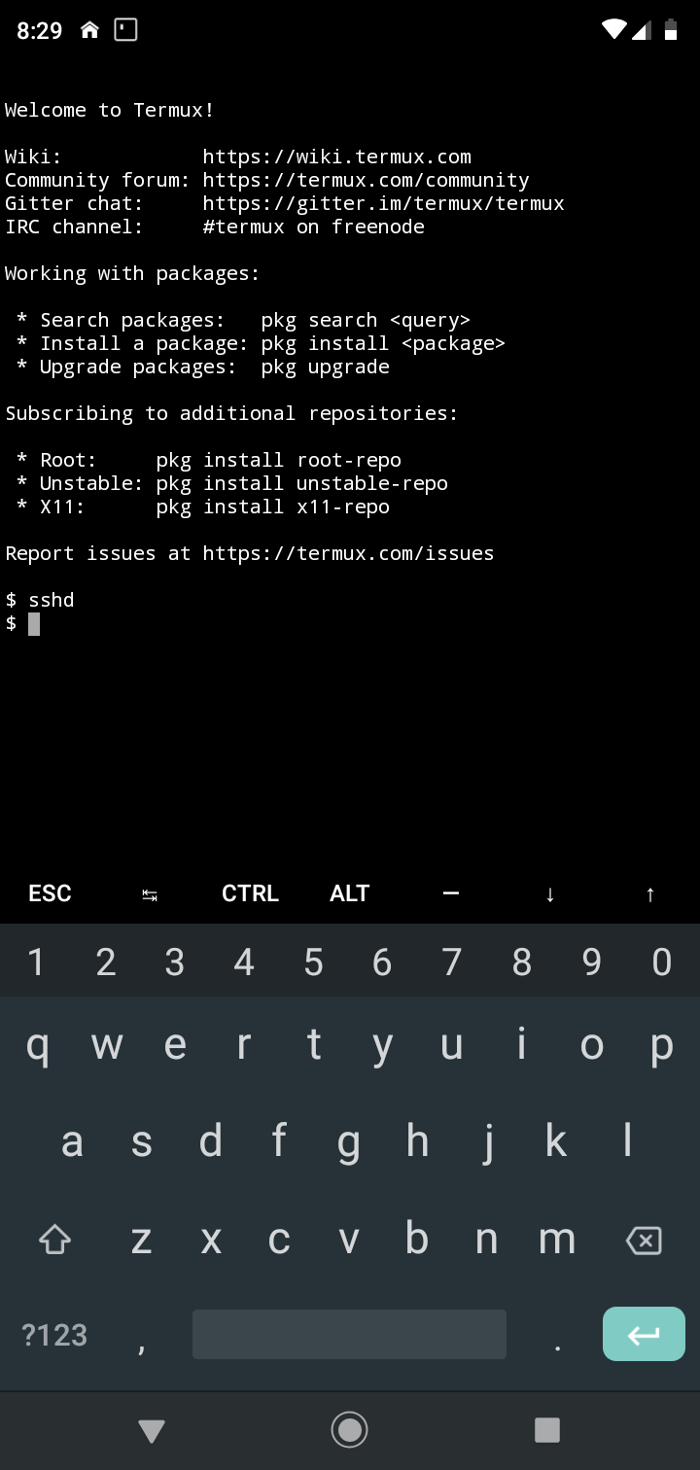
This is what running sshd looks like:

Second, I set my router to always give my phone the same IP number when it gets on my home wifi network. Then I edited /etc/hosts to include a line matching that IP number with a hostname:
192.168.0.100 phone
That means I can just refer to the host phone and my laptop will get to the right other machine.
Now I could ssh into my phone!
ssh -p 8022 phone
(No username is required.) But I couldn’t access any files! Internal and external storage told me how the fix that. I ran
termux-storage-setup
in the Termux window, and that made a storage folder that had symlinks to storage folders.
Then I made a mount point on my laptop:
sudo mkdir /media/wtd/phone
sudo chown wtd:wtd /media/wtd/phone
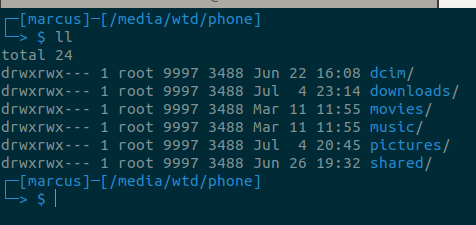
Now I can mount the phone with this command (which will ask for the password):
sshfs phone:storage /media/wtd/phone/ -o follow_symlinks -p 8022

To close it off, I unmount on my laptop:
sudo umount /media/wtd/phone
And then stop sshd on the phone, with this in the Termux window:
pkill sshd
Now, this doesn’t give me access to application data folders, which I need when I do backups. For that I’ll still use adb, the Android Debug Bridge. But for getting and managing photos, which is mostly what I need, it’s great.
 Miskatonic University Press